My favorite neighbor girl needed help making some christmas gifts.
Polar fleece blankets. No-Sew Fleece Blankets.
Do you want to make your own? They are easy-peasy.
They even sell kits at Joann's Fabric Stores.
There are a couple of ways to tie them. We chose a low knot version.
You will need two pieces of polar fleece in coordinating colors. Most fleece comes 60" wide. If you want a square throw, then buy 60" cut (aka 1 2/3 yard).
Neighbor Girl wanted them rectangular. She bought two yard lengths of two coordinating fleeces.
Her cut measurements are 60" wide by 72" long.
You can do this on your dining room table to save your back or sit down and lay them out on a clean floor.
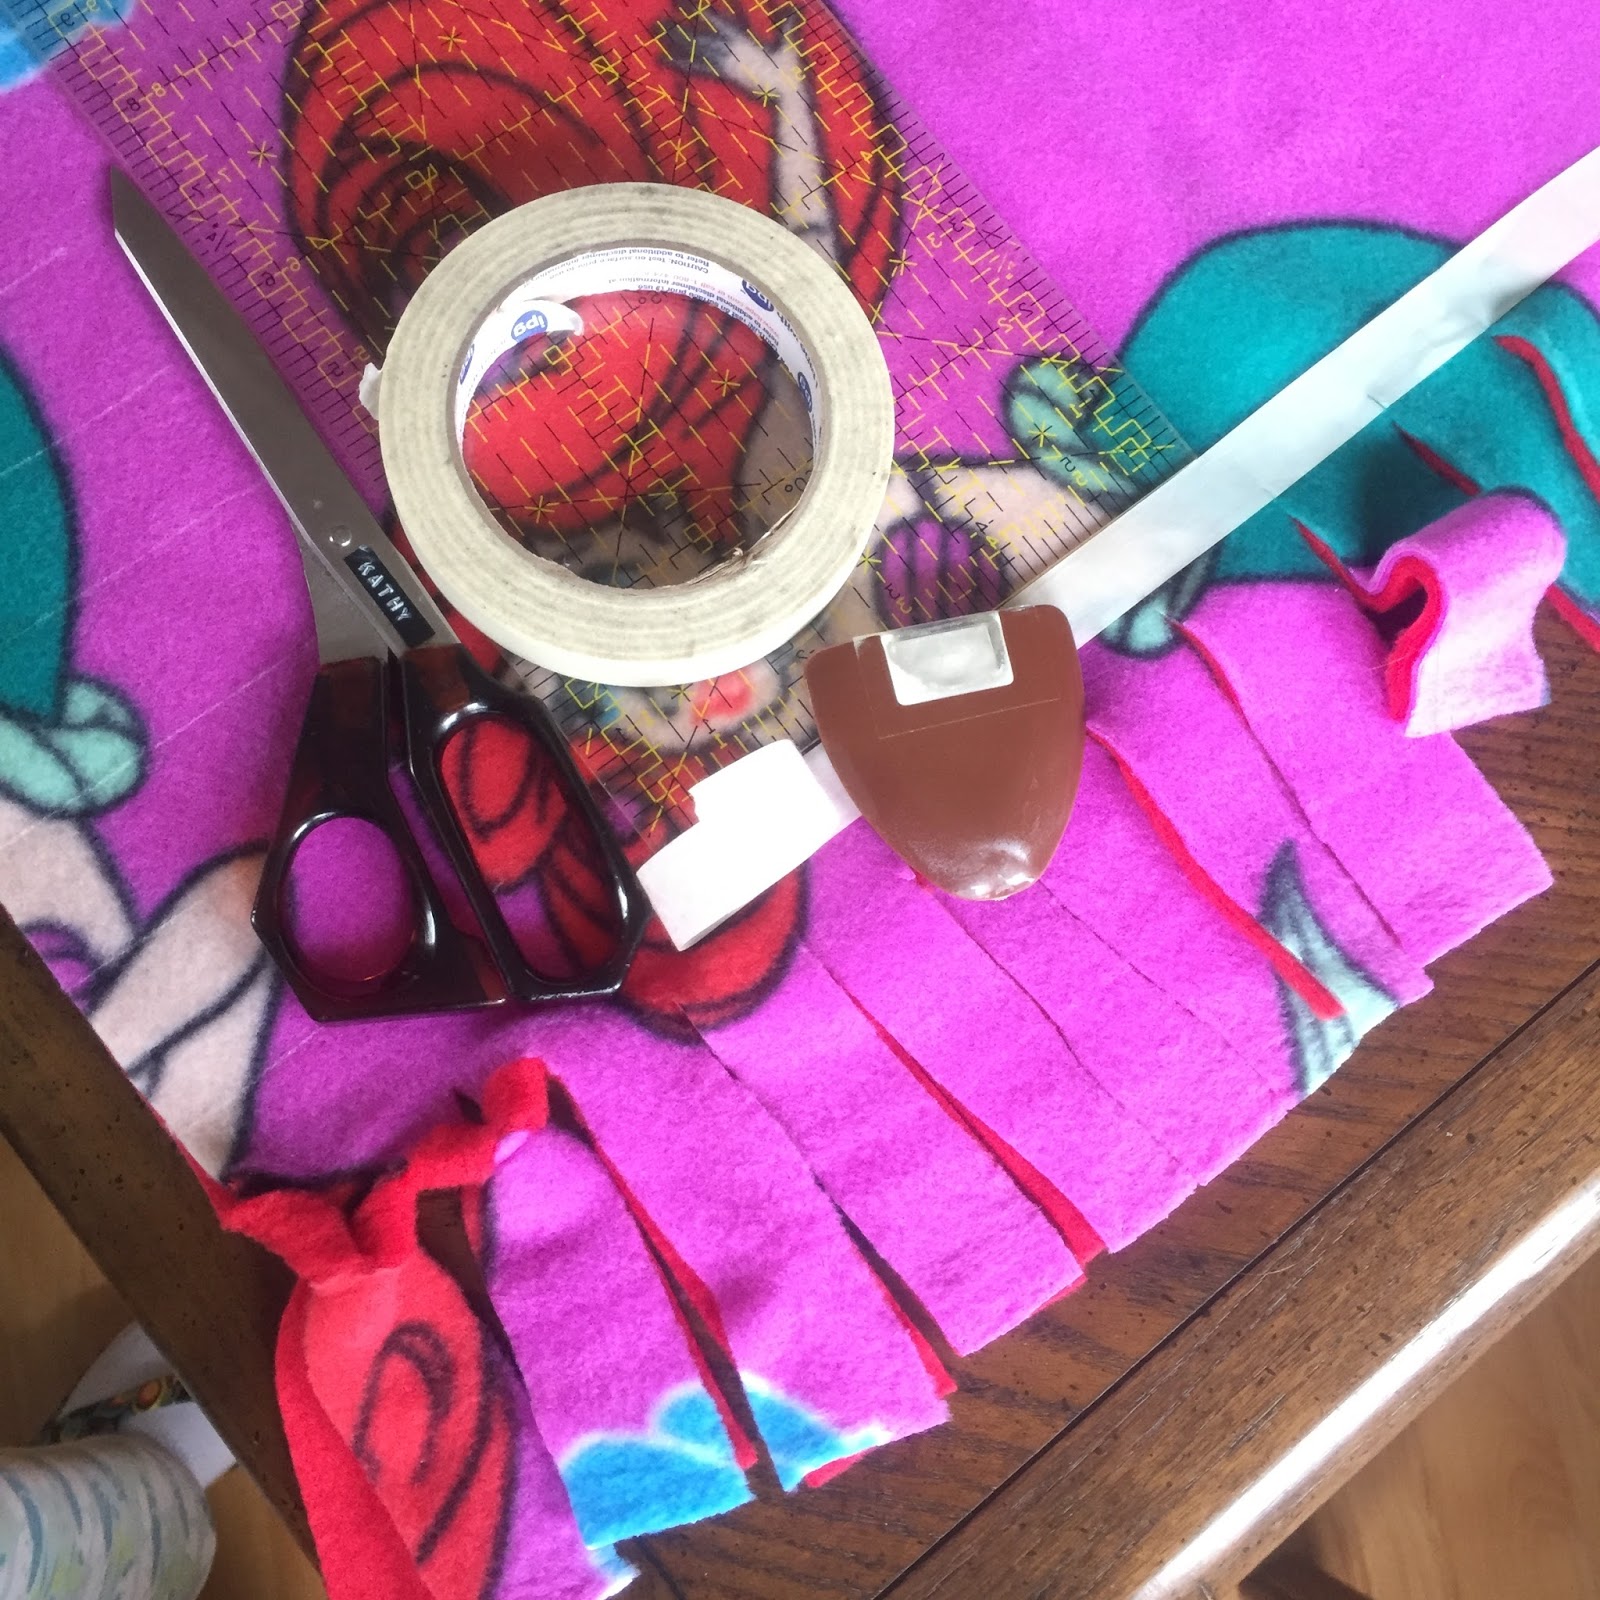
Lay your two fabrics together and smooth out the wrinkles until all sides mostly match. On the 60" edges, you're going to cut off about an inch width which is the selvedge. These edges are rougher where the machinery that made the fabric gripped it.
I free-hand cut the selvedges off. Because polar fleece hides all flaws. You're going to end up cutting fringe all around anyway. Even if you can't eyeball an inch to cut away, it won't matter in the end product.(but if you want to measure or lay out masking tape as a guide, you can).
We laid masking tape (painters tape) down 4 inches from the edge (Parallel to the edge). This was to assist in cutting the fringe. Each fringe (fringette?) is about 1 1/4" wide. I have a chalk marker that worked quite well to guide Neighbor Girl in cutting straight fringe.
She had limited confidence on the first side but by the 4th, she wanted to cut the fringe free-hand.
The trick to the fringe is to cut mostly 4" in on all four sides and evenly. So you might have to curb that enthusiasm of wanting to do freehand as your fringe starts to get wider and wilder.
Anyway, I gave her a masking tape line to cut to and chalk lines to cut straight. We didn't need these on the second blanket because of the elvis stage light design giving us fabric guidelines.
You will also need to cut out 4" squares on the corners as the fringe will fill in the corner and look seamless. I always forget the 4" squares at the corners until I cut the first fringettes. You'll figure it out, because polar fleece hides all flaws.
Once the fringe is cut, you flip the fringette forward and snip a 1/2" cut in the middle of the four layers. My scissors aren't sharp enough to cut thru four layers with the tips, so my tip is to bring the scissors in and use the middle and/or back of the scissors to give you some power to cut through.
Neighbor Girl quickly grasped how much of a snip to make. Remember, polar fleece hides all flaws. Even if you snip too wide, it will be okay.
Then you bring the end of the fringette through the hole. Tug gently. Thus making a soft half hitch knot.
The other method has you tie the fringettes together in a double knot making the edges of these blankets more lumpy bumpy. This snip in the middle and push the end through method is a much softer knot that doesn't annoy you as much when you snuggle under the throw, but is just as secure.
This right side has been done. Look at that red line. It's the opposite side as it comes through the slit forming that cool braided border.
One last tip: the fleeces don't shift because of the friction of the material holding them secure. But the weight of the blanket will slide over the table, possibly causing you to cut crookedly. Just roll up the other side to keep the weight of the material from shifting.
See that corner above? It had a 4" square cut out and you would never know.
It took about an hour to make the first. AND stretch frequently for your lower back if you are bending over. The second blanket was only 60" square and took just over 30 minutes.
I have some video but no time to go through the laborious process in order to post here. You can catch them in my IG feed.
 |
| Photo Credit: DD; Cape Kiwanda |
I'm busy making notecards for my kids (who write letters just like their mama and their grandma!).
I'm using their awesome photography from the year from their various travels.