Picture heavy post. My posts usually are but this one had 30 - I tried to edit some out....
So much to see...
As many of you know, my hubby and I re-did the house floors in real wood(hickory) nearly three years ago. We were going to put in carpet in the bedrooms but thankfully(!) my paycheck was cut way back and we waited until this spring to do carpet in the master and real wood in the two small bedrooms.
It is such a joy to just sweep up the threads and dust.
My sewing room is still in progress but is usable and almost decorated so it must be time to show it off. I could use some ruthlessness to get rid of the remaining five boxes in the garage but then I wouldn't have anything to 'organize' this winter. lol
Welcome to my sewing room.
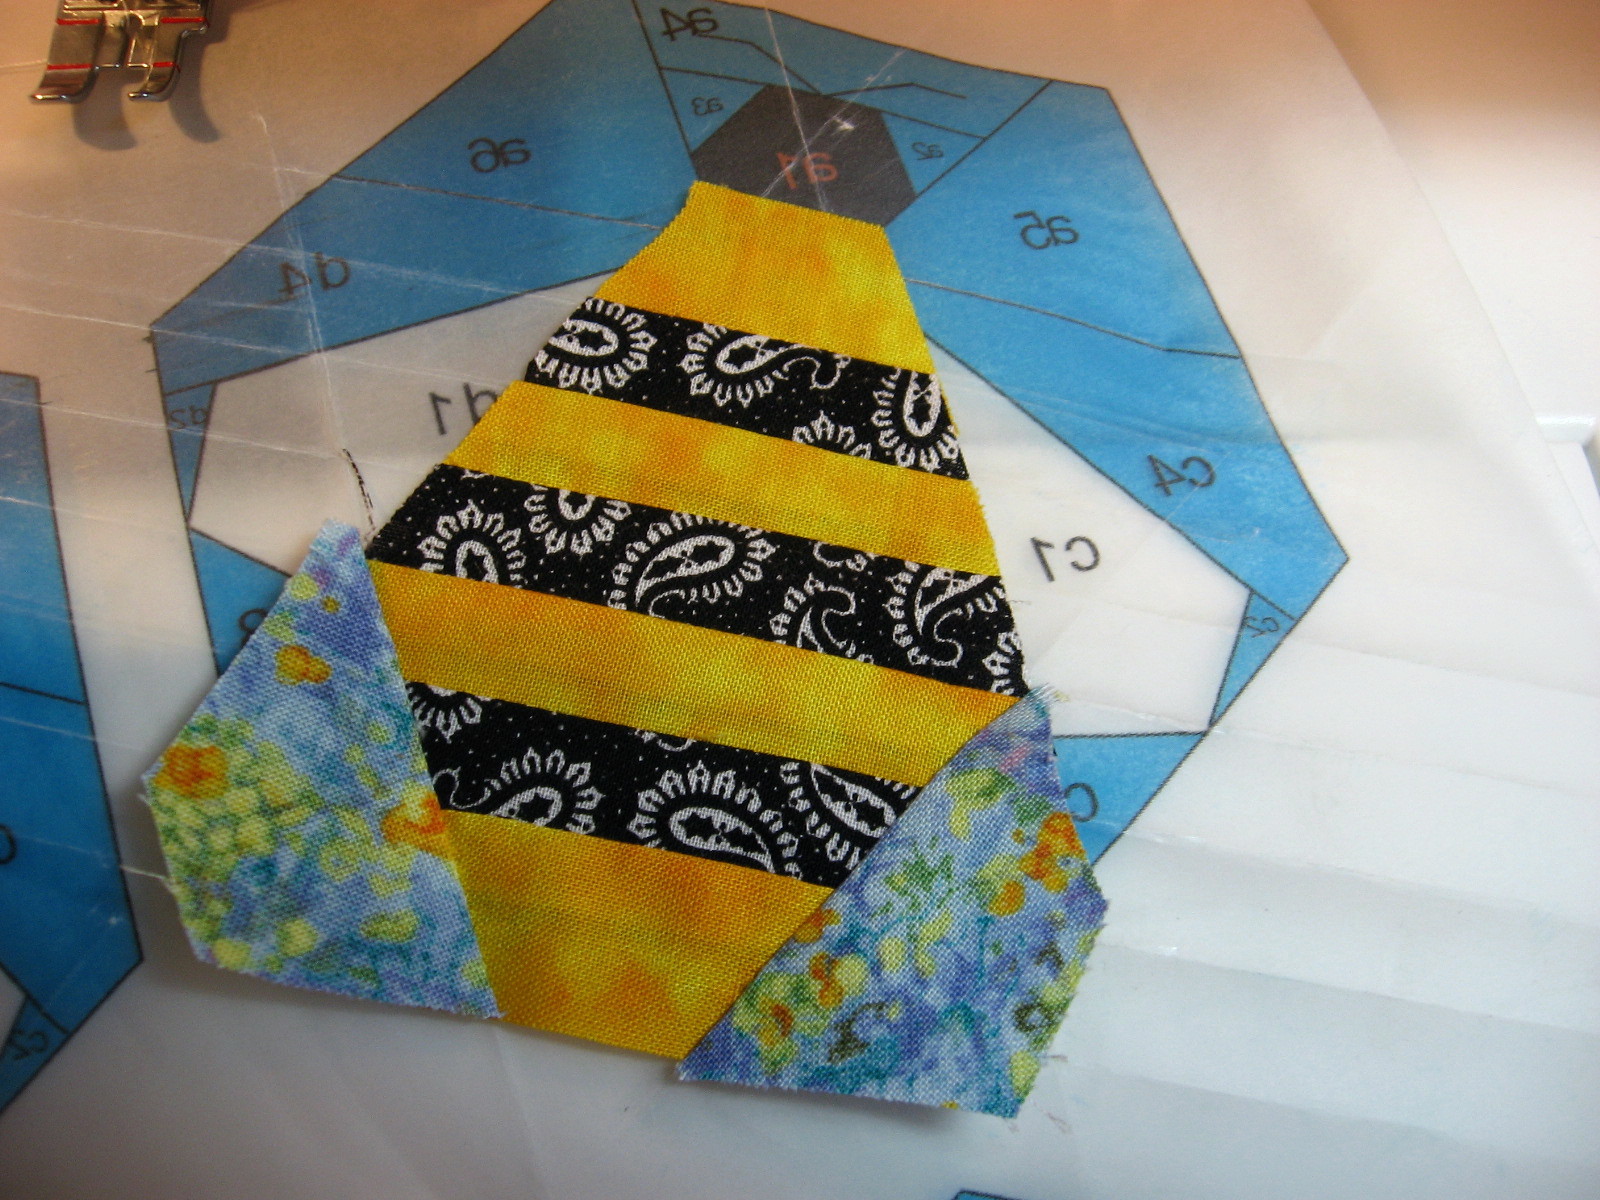
Today's project** has been dumped in the middle of the (clean!) floor.
You can see all the hickory variegations. We finished it with a natural Swedish finish.
From the doorway, you can see my Ikea kitchen island that is my cutting table. It's got a butcher block top and 12 drawers that keep me organized! (Janine- I can no longer find this on the web site or the catalog.)
The closet - with doors that thankfully close.
Creative friend made the bunting.
The ironing board sticking out, -cuz that's where it needed to be.
Many of you know I collect fabric and airplanes. I also collect japanese textiles.
Just love 'em.
This one hangs above my cutting table.
Oregon is a jump off place to get to Japan and many people visit and bring back souvenirs which end up years later at the garage sales I visit.
(A bit like the Rie Munoz art I brought back from Alaska - doesn't quite fit into Oregon decorating. Ahem.)
Self explanatory jumble.
Boxes of Japanese textiles, knits, decor-weight, OSU fleece, embroidery floss, buttons(now somewhere else), pillow forms(UP), etc.
This is where I need to ruthlessly delete five boxes so the five boxes still in the garage can come inside.
Believe or not, my most difficult job is to get rid of my cute storage containers that held sewing treasures. That red coffee can had buttons in it -- but the can came from grandma....
The hat boxes have also been emptied but another home (they have airplanes on them!) has not been found.
Maybe tomorrow...we'll just close those doors again.

Notions totally rearranged - still have stickies on them as I am consolidating similar notions (Can you say extra?)
The pink bag is for usable scraps.
Underneath is ribbon/trim storage as well as those extras I add to my etsy orders.
To the left are my machines but we'll turn right instead.
Both small bedrooms have a window seat with drawers underneath for storage.
Daughter tie-dyed the curtains and I stole acquired the hanging glass baubles from her.
Eventually, I want just Goldie and the green basket on the windowseat.
The basket holds current ideas/patterns/magazines.
Ignore the stuff in front, please.
 A peak at drawer number one which holds an astonishing
2.5 boxes of patterns and magazines!
The second drawer holds my UFO's. a.k.a. works in progress. Really.
This is a display thing I painted at the same time as my other display (later). I don't know if I will use it, or not. Definitely ditch the glass.
This is my fabric bookcase I bought many years ago. I thought about putting in another but two things are holding me back.
1. These are my quilting cottons. Much smaller stacks than OSU polar fleece. The smaller stacks stay upright much better. Even my garment fabric yardage is big.
2. I can't find another this narrow (25"). The available ones are over 30" wide and I'm afraid my stacks (I'm trying!) will fall over - all the time.
It's so much easier to matchymatch with everything out on display.
 One of my bizarre friends crocheted Mr. Frog.
The crewel work on the left is from an estate sale.
The art on the right is from my daughter who bought it in Portland.
An old singer sewing machine etching, and the note from my daughter which might be worth even more.
Here's my other display piece. It was 70's wood color before ($5 find) but a little red and turquise spray paint helps it belong better.
Treasures.
Temari balls, Moomin (little Myy) purse, airplane small things. (Janine! I should have entered the airplane pincushion you made for me into the fair.)
Here is my latest garage sale find this summer.
I had been to two sales in Molalla and Canby advertising fabrics (duds) and this was my fourth sale - on the way home.
She had some Indian textiles for sale. I liked the napkins and at 50 cents apiece was already imagining re-purposing the turquoise patterned fabric into.......when she said the tablecloths were only $2. Each.
I might have bought all of them.
Then I turned and saw this jewelry chest.
Made in India, it stands thigh high and is made of burled wood. It's lined with that 'lovely' red fake velvet which almost deterred me but I could see putting my rick rack inside, and my zippers, and all the buttons.
The lid opens up and when Janine was visiting, she suggested putting the buttons on top. I had to dream about it as all I could see was a flat surface which would always have stuff on top of it and never being able to access the buttons.
The chest also has four drawers which come out for easier viewing.
Can you imagine pulling up a stool and sifting through the buttons???
The top two drawers contain most of my buttons (Can you say extra?)
The third has the rickrack.
And the fifth - zippers.
Undecided about the fourth as of today.
DO NOT FORGET that I like airplanes too.
That's two rows of rick rack, side-to-side. (no extra's here).
And, FINALLY.......
My new pfaff on the right. My serger on the left.
On the stool is my coverstitch, which will reside on the India chest because it takes up space and is much easier to take off the flat surface than piles of other things.
The thread racks have not been hung. I need to look into making or finding one for my serger cones. So there will be three of them.
So - that's my new sewing room.
I have five boxes in the garage that need to come inside.
Also my Singer stylist in it's cabinet.
Here's a look of Before:
and AFTERWARDS:
 ** Shorts. finally.