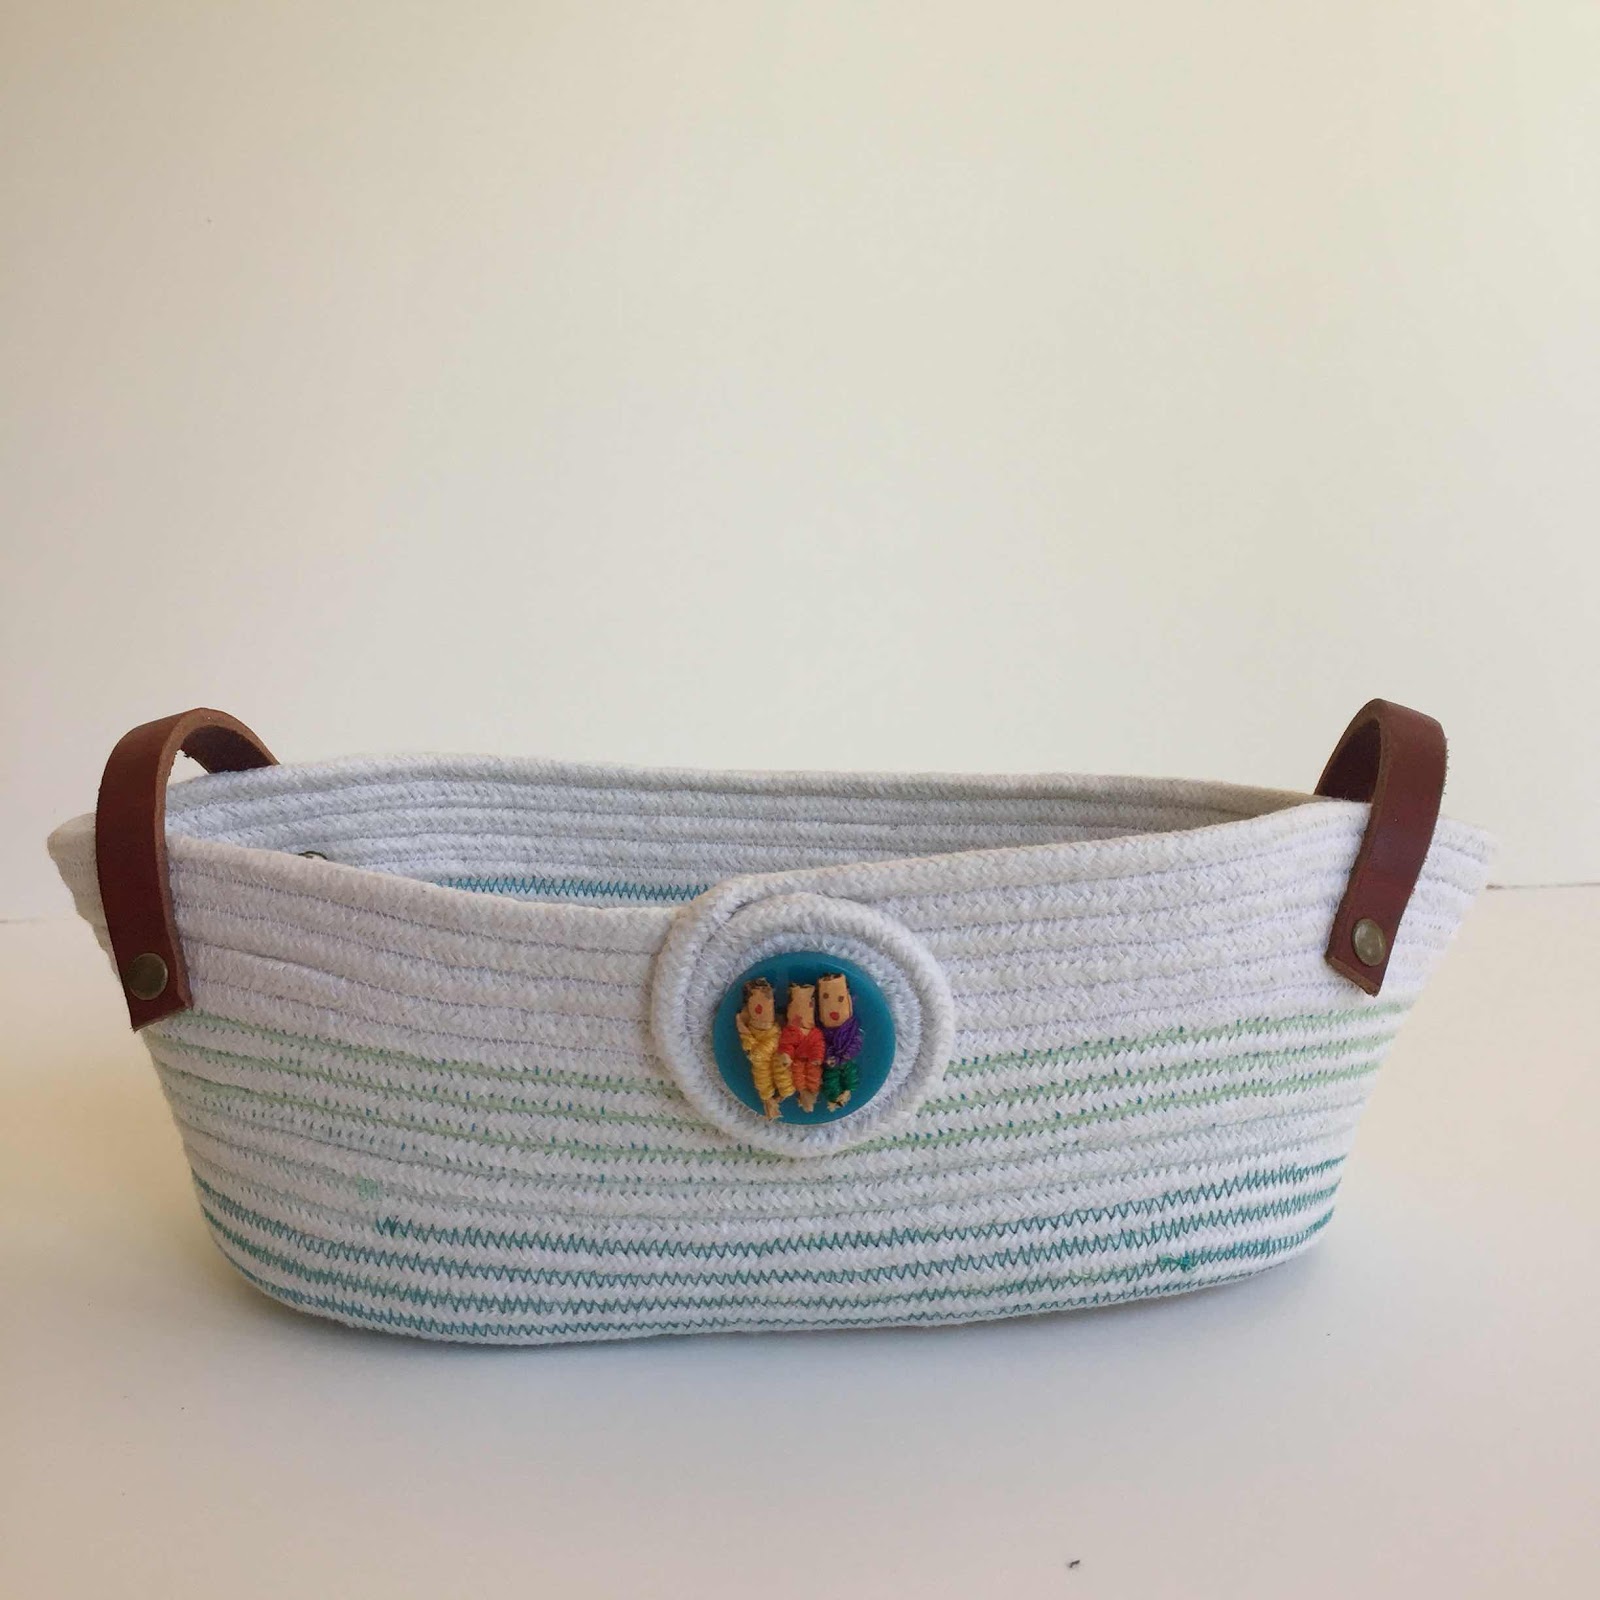
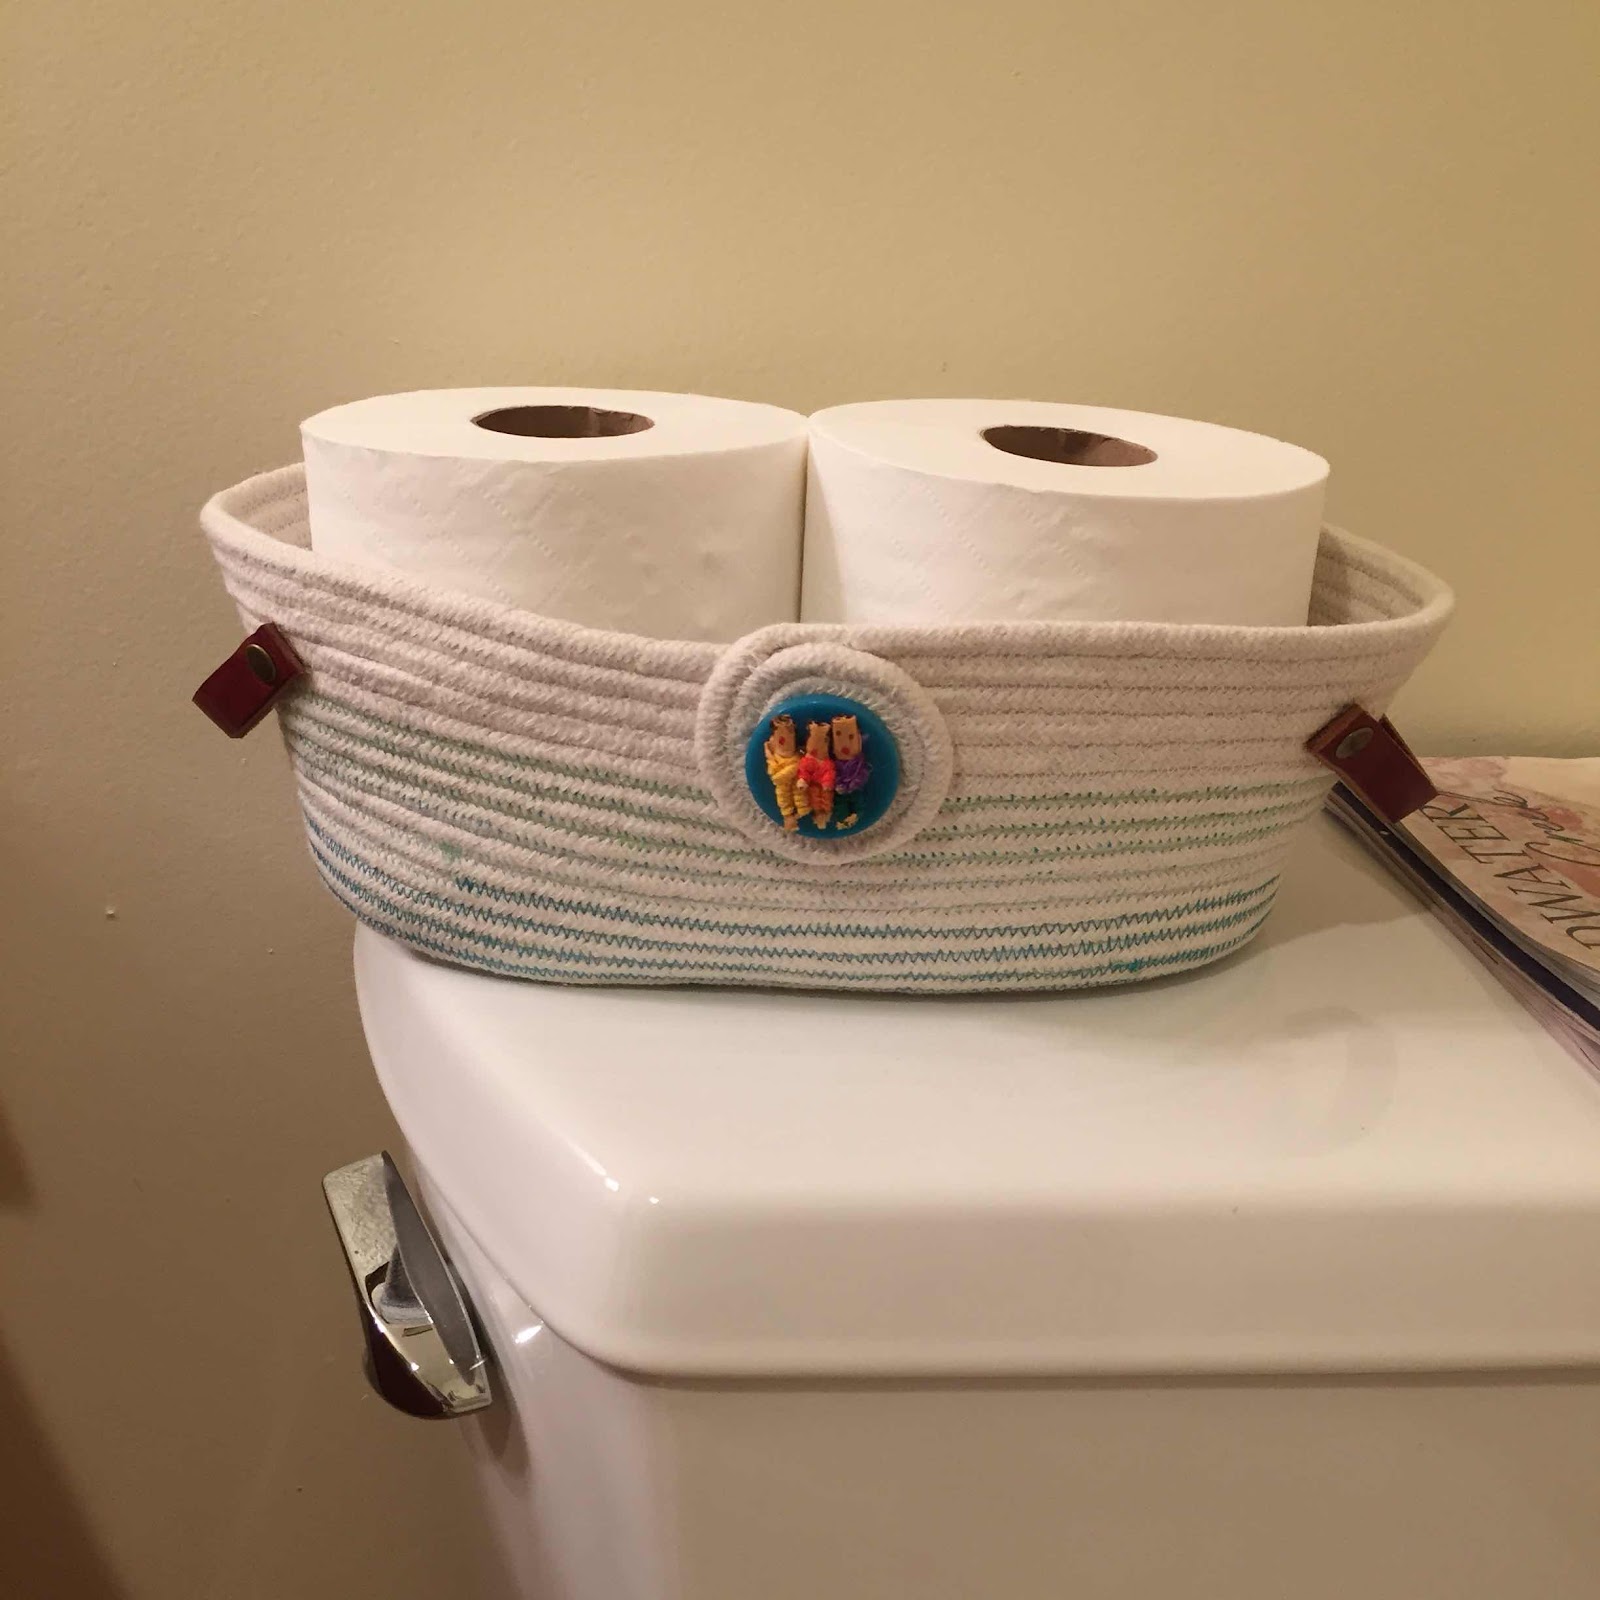
I've had a difficult time being creative right now at six weeks into our Oregon pandemic of Covid19.
But a couple of FB sewing pals kept pushing and I designed something instead of just doing rote, run-of-the-mill making.
This bowl is oblong. I think it is easier to start with a circle. The oblong can be a bit unwieldy when starting out to maintain that oblong shape.
I use Cotton wrapped clothesline with a poly-core. 100% cotton can get limp. A work-around is denser zigzagging. I added a photo of the rope I typically buy at the end of this post.
A microtex 12/14 needle. Some people recommend a jeans needle. The only needle I've broken was when I tried to sew thru one of my anchoring pins. Do clean out your machine after bowl making - lots of dust fluff.
To start, wind your rope around on a flat surface until you get a circle or oblong about 3-4" wide. Stick straight pins at intervals to secure it while you begin. Most rope has a poly core, so stick pins in just at the surface. On circles, I put a pin in at 12, 3, 6,& 9 o'clock positions.

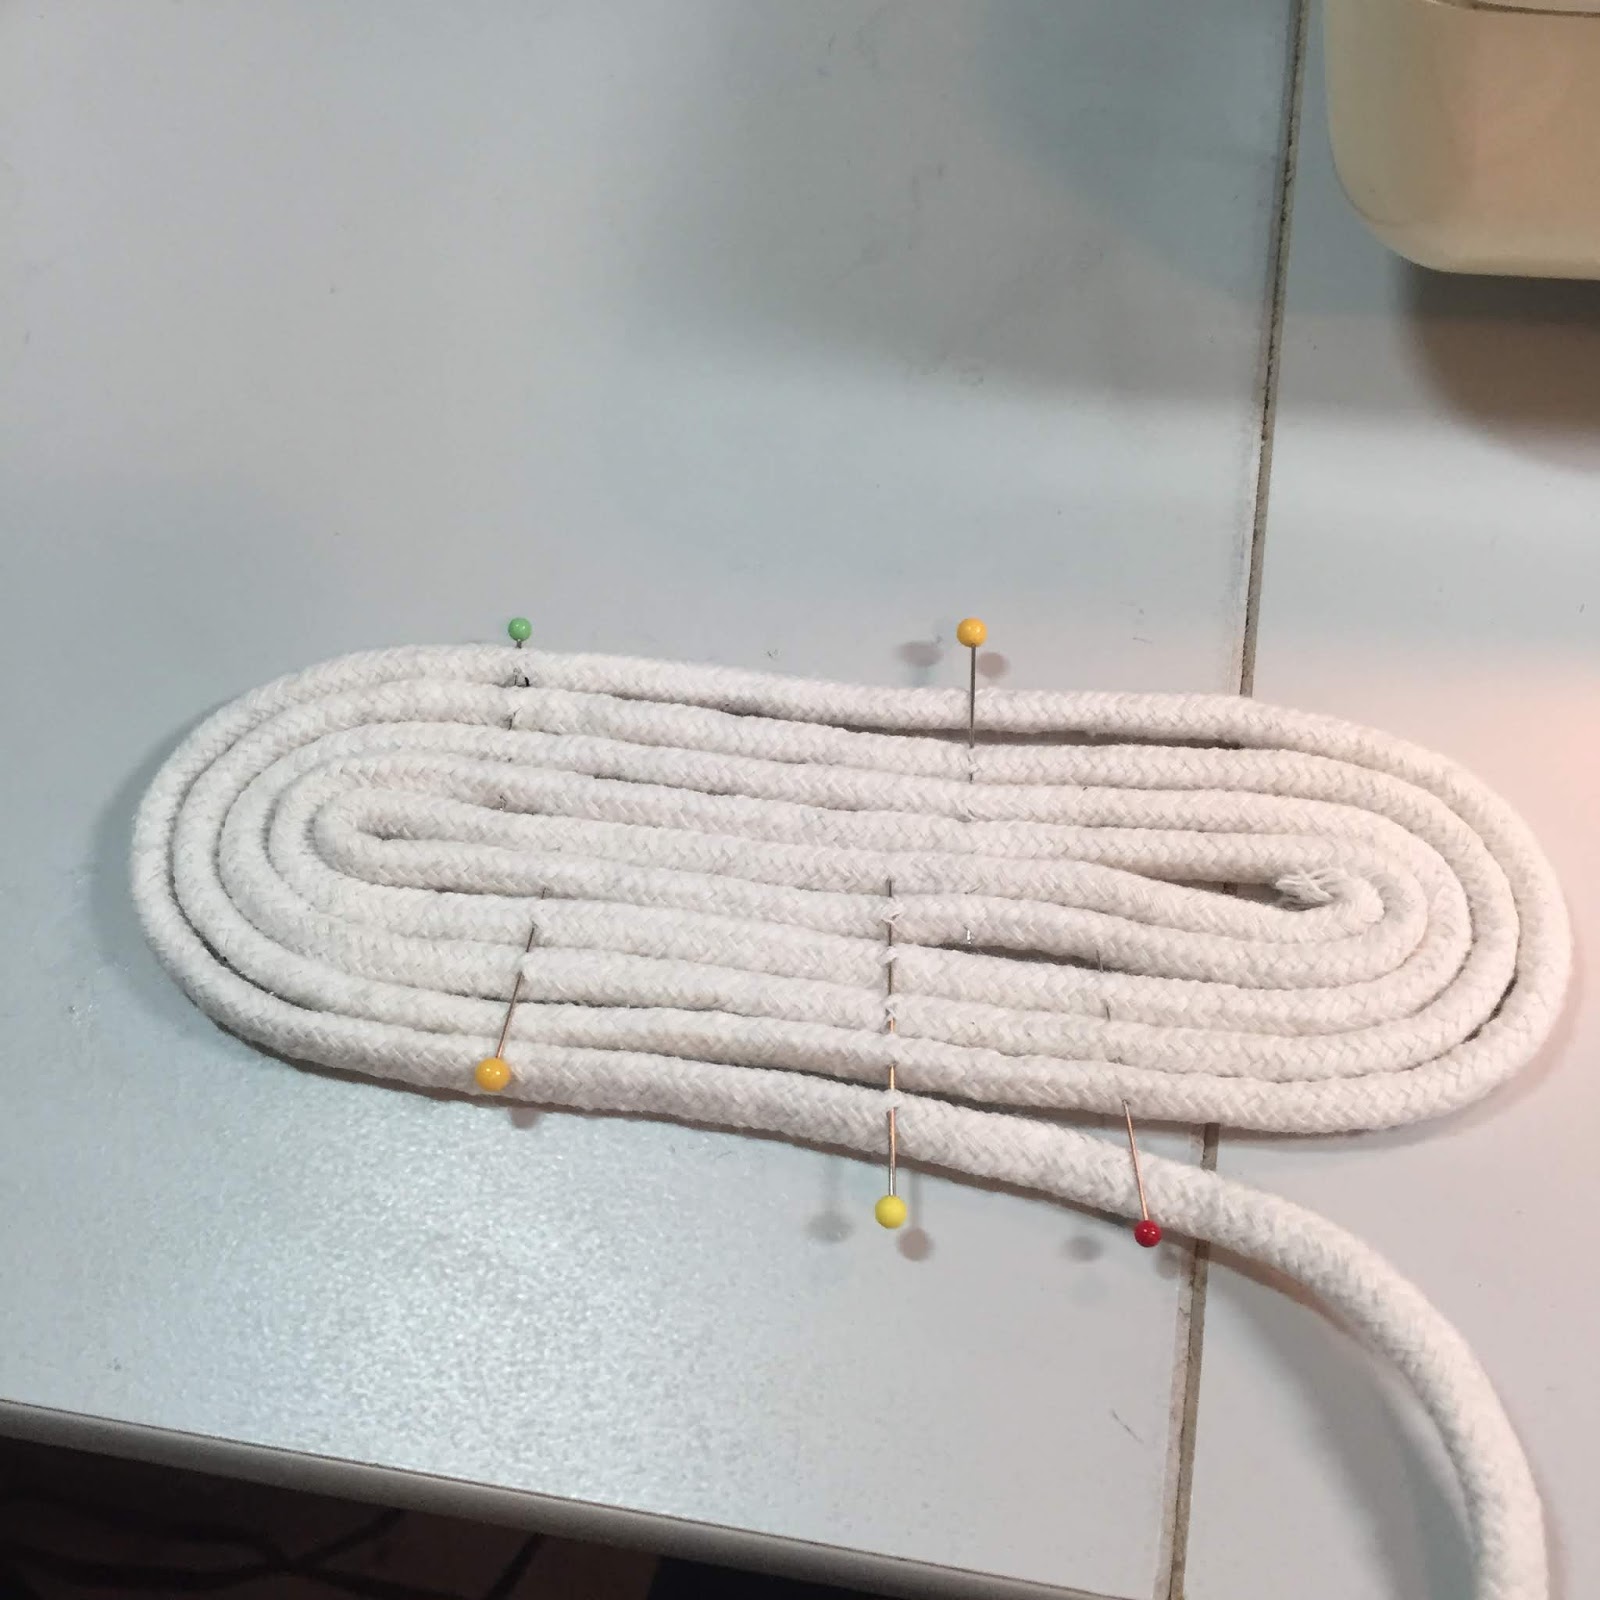

We're going to use a wide zig zag. Maybe 4.5 - 5 mm wide for the Zig and 3.5- 4.5mm for the Zag. On my Singer Stylist, I used a 5 (no mm then) and a 12 for the Zag. You want it wide enough to catch both ropes and enough Zag to hold it together.
When using thread as color, by making the zigzag more dense (or closer together), You get more color.
On this oblong, I also pushed my first rows together as I zigzagged. Not necessary on circle as much.

You can also do the entire middle with white/off-white thread (which hides everything)

Once, the middle is secure, I start zigzagging in earnest, moving pins out, then back in after I pass. Pivot at the tight points.
You can see below -- I started removing pins altogether once I did four or five rounds. The pins help with shifting as you start and stop on the middle tight curves.

On circles, I start pulling up the base to do the sides around 6". That's on my pfaff machine. I noticed on my Singer Stylist that the machine is skinnier on the left-hand side of the machine, allowing you to push up more evenly right away.
On this bowl, I started tipping it up around 4 1/2" wide. Once you start tipping, you want to keep your hand fairly steady on the angle. By tipping, I mean nearly straight up.
You can also see my presser foot is centered between the two coils for the zigzag to catch both at same time.


The thing I like most about these bowls is allowing my creativity to run amuck. I do keep a pinterest board on Rope Bowls (K8Hobbies), but that's mostly for finishes. Like - what kind of knot do you want at the end?
My thoughts, oh, blue looks nice, what about a blue/turquoise graduation. The home decor/gardening rule of 3's and 5's works very well visually. Zigzag three rows in blue, switch color on the bobbin, and stitch three more rows, or change both top thread and bobbin thread. Go wild. Sew until the bobbin runs out.
This is actually a great time to use up partial bobbins and nearly used up thread spools.
Or, do the whole thing in off-white thread.


Oblongs can get wonky pretty fast. Whatever pressure you use on one end, you want to do the same on the opposite end. Get yourself into a rhythm. If you stray (cuz you got hypnotized), you can go back with natural thread and re-stitch. I promise no one will ever notice. And if your zigzag lines aren't perfectly parallel? No one has ever noticed.
Use the time of changing threads to stretch a bit, roll your neck, etc.


In this photo, I am actually pulling it away from the machine. If you want perfectly straight sides, the bowl needs to be perpendicular. I wanted my sides to taper out just a wee bit.
My inspiration bowl is below. I did pull it up at this point to see no thread color on the top rows (5+). She finished it with a round coil.
 |
| Photo credit - Lisa Maestas |


Forgot to take photo of coil finish. I marked the centerline of the long side to zigzag to and just a wee bit past. Then I cut my rope at another 12" or so..
I pinned my 12" into a round coil with straight pins and zigzagged the coil while it was attached to the bowl. Yes, it required some machine acrobatics. I did this with off-white threads. It won't show anyway.
Then I eyeballed the coil against the centerline of the long side and pinned it in place. My button embellishment is actually an earring. I attached the earring and hand-tacked the coil down. I glued the earring down later.
I've also used cork scraps to hide the end of the rope. Tied the end into a monkey's fist knot and stitched that down. You can search my blog for rope bowls or clothesline bowls to see past posts (Full web version, not the mobile version).
These are so easy to sew. You have complete do-over capability if you lose your way. If your coils are separating because you strayed with your stitching, go back over the area.


I buy this locally at Wilco Store with has a Tru Value Hardware store inside. I like 1/4" width. I sometimes use 7/32". I have some 3/8" rope I might try soon.


